
Reusable With Care
Low-tack vinyl can be returned to the backing sheet and reused multiple times when removed carefully.

Product Details
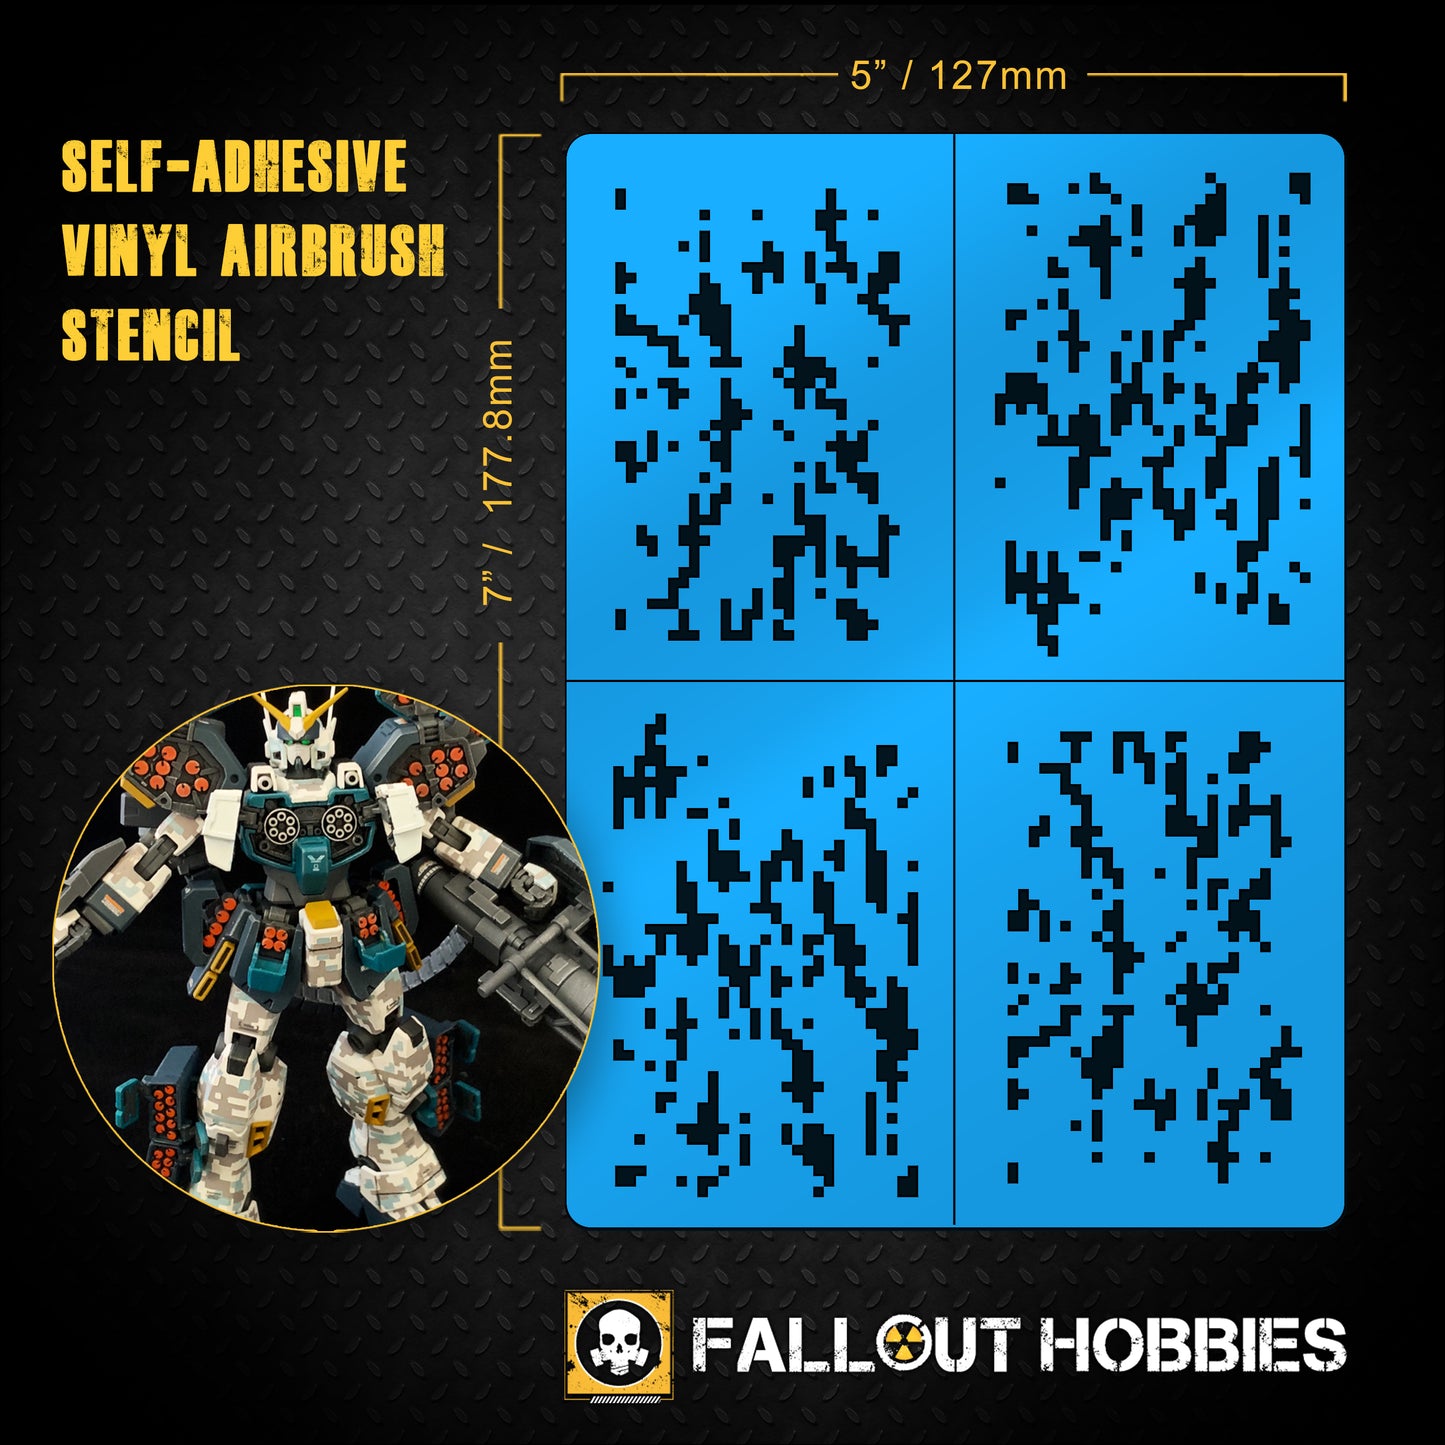
Break up flat armor plating and add serious tactical realism with the Digi Camo 1/100 stencil. This digital camouflage pattern gives you those crisp pixelated edges that are nearly impossible to achieve by hand. Lay down your base, mask with the stencil, and build up layered tones for depth, weathering, or a multi-color camo scheme that makes a smooth hull read as battle-ready hardware.
Fallout Hobbies Airbrush Stencils are produced on high quality, low-tack adhesive paint mask vinyl. The flexible material conforms to rounded surfaces, peels away clean, and holds up for multiple uses with proper care and removal.
Size: 5" x 7"
Perfect for Gunpla, mecha, walkers, vehicles, and other miniature model kits. Great for adding realistic digital camouflage to 1/100 scale armor and larger sci-fi war machines.

Fallout Hobbies Field Manual
Reusable low-tack vinyl airbrush stencils for crisp painted-on markings, camouflage, hazard stripes, panel effects, and weathering details on miniatures, armor, vehicles, terrain, and scale models.
Low-tack vinyl can be returned to the backing sheet and reused multiple times when removed carefully.
Use an airbrush, spray can, stippling brush, dry brush, or cosmetic sponge depending on the effect you want.
Create markings, camo, hazard stripes, runes, panels, and texture effects directly in your chosen paint colors.
Great for miniatures, armor panels, tanks, aircraft, terrain, RC bodies, and scale models.
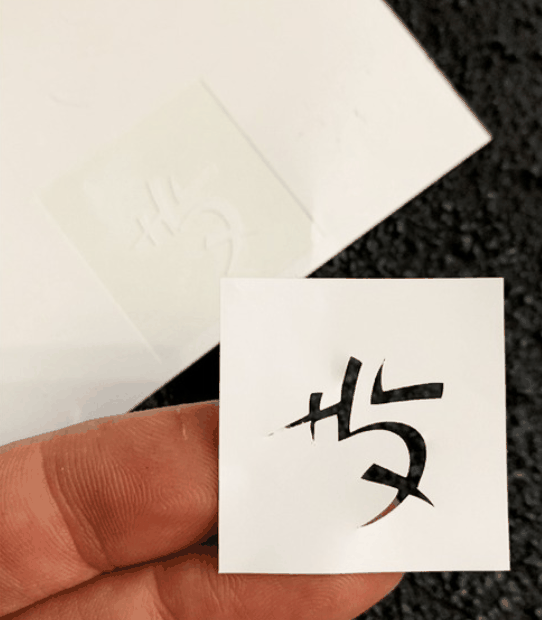
Make sure your paint is fully cured before applying the stencil. A clean, dry surface helps prevent lifting and keeps your final edge sharper.
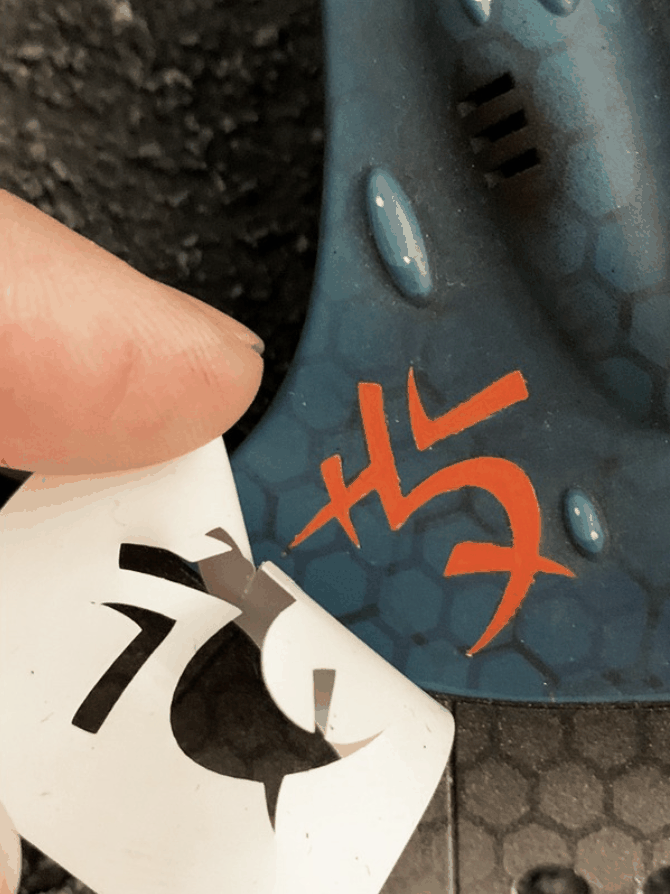
Use tweezers or a hobby knife for delicate shapes. Remove the stencil slowly so thin details do not stretch, tear, or fold back on themselves.
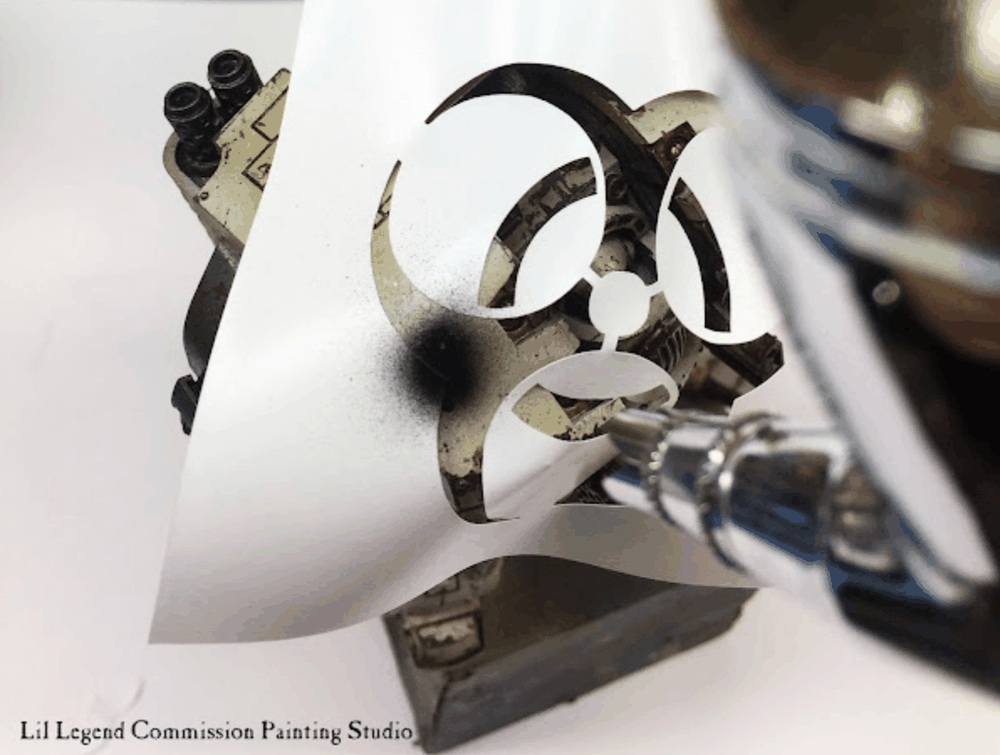
Press the stencil flat against the model. Spray thin, controlled layers or stipple lightly; heavy wet coats are how paint bleeds under the edge.
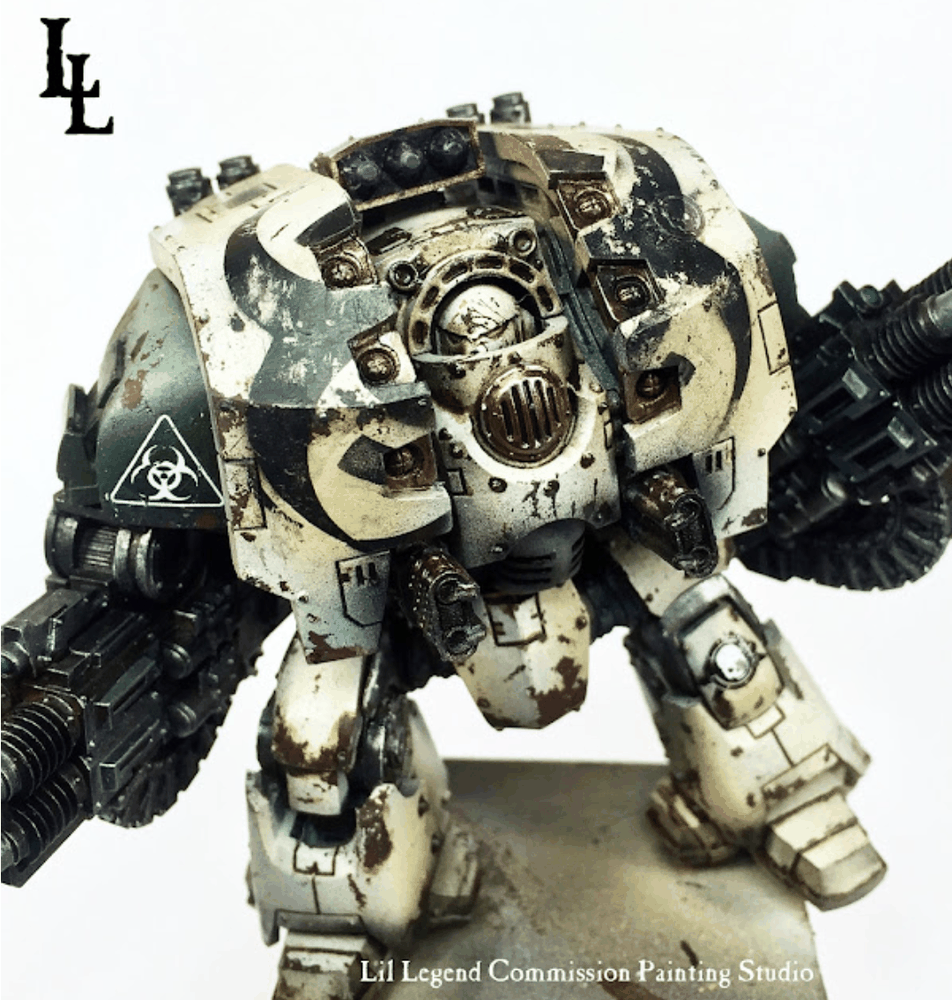
Peel the stencil back slowly. Let the design dry completely before masking over it, weathering it, or sealing it with varnish.
Featured model tools: Vallejo, Reaper Master Series, and Com Art Medea airbrush paints; Iwata Hi-Line HP-CH airbrush; Rosemary & Co., Raphael 8040, Broken Toad, and Winsor & Newton Series 7 brushes.
Stencils let you paint the design directly onto the model, so markings can be shaded, chipped, weathered, and color-matched to your scheme.
Yes. Our stencils are made from low-tack vinyl and are reusable with care. Place them back on the backing sheet between uses. Some customers have reused them up to five times.
Yes. Use stippling, dry brushing, or a sponge. Do not drag wet paint across the stencil; dab straight up and down with thin, mostly dry layers to help prevent bleeding.
Make sure the stencil sits flush, use thin paint, and apply several light coats instead of one heavy coat. Blu-Tack or low-tack masking tape can help hold flexible areas in place.
Camouflage, hazard stripes, icons, panel details, armor markings, vehicles, terrain, aircraft, and weathering effects.
Thin hobby acrylics, pre-thinned airbrush paints, or acrylics mixed with flow improver. Thick paint straight from the pot is asking for clogs and sadness.
Work slowly and press the stencil down in small sections. For larger curves, use low-tack masking tape or a tiny amount of Blu-Tack around the edges to keep the vinyl flush while you paint.
Start with your base color, then add one camo color at a time with thin, controlled layers. Let each layer dry before moving or rotating the stencil for the next color.